Ah but Deano is a precision engineering super geek (meant in the positive sense) and I'm not much different in mind set, if spread too thinly at times to concentrate like Deano does

!
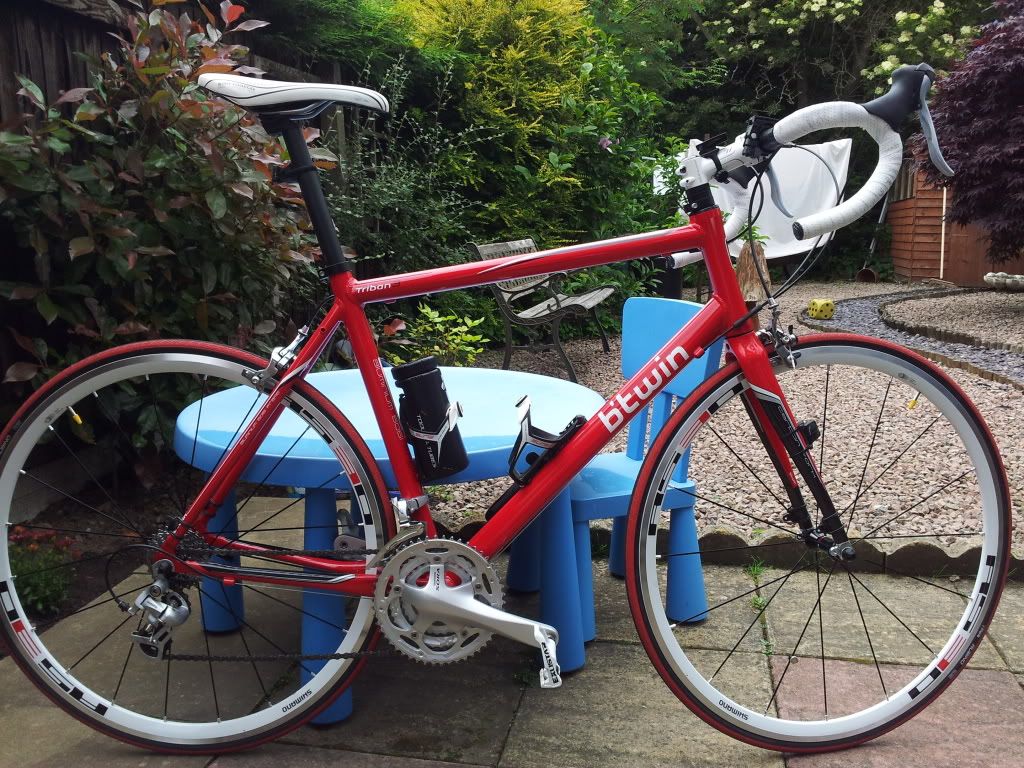
The alignment of the drive side is jacked 6mm out if you use the standard spacer arrangement and the non drive crank is set off the frame less with a 3mm spacer - there's nothing necessarily wrong with it but the cranks will likely be offset different distances from the seat post. To check this, you get an object that fits between the crank and the seat post fairly snug on one side, spin the crank a half revolution and try again on the other side.
It is likely different by a few mm's - not massive perhaps but what this means is your legs may be slightly off centre and your chain line to the rear cassette may not be as optimised as it could be.
It'll all likely still work fine but probably not quite as sweet as the way Deano has sussed.
As I've said elsewhere, I have suffered from a few months of Leg Bicep Tendonosis and the idea of having the pedals / crank alignment set as sweet as possible appeals to me, as it should mean any chance of slight imperfections in set-up causing me grief are ironed out. This may not be a worry for some but it is something I'm keen to stay clear of as it was exasperating when I had it.
Also with the shuffle of different spacers, the gear re-indexing required no more than a twist of the barrel at the rear derailleur so I'm happy that the crank is set in a good alignment avoiding angled chain runs.
The details break down like this - SBS (thanks to Deano's experiments / sussing it and my experience following his lead):
1. Take the 6mm 'spacer / gasket / shim' (whatever you want to call it) off the drive side crank.
2. Look closely at it and spot an even smaller O-Ring set within it (I missed this at first).
3. Pop that ring out and with the drive crank face down on a level surface (non scratching), fit the shim you've popped out of the bigger spacer to the rear of the front cogs - I suggest doing it this way, as you'll see how it fits best to the crank recess.
4. Put the remainder of the 6mm spacer to one side (you won't be using it again).
5. Fit the standard 3mm spacer (supplied with the set) to the back of the little shim and push the drive crank / cogs into place through the cups, so the 3mm shim fits neatly against the drive side BB Cup - i.e. as standard but with a 3mm spacer instead of a 6mm one.
6. You will have already fitted the BB cups and tubes as advised by the manufacturer's info on the drive side, except on the non drive side you need to put a 2.5mm spacer between the cup and the frame (this 2.5mm shim is in addition to the standard kit).
7. You then fit an additional 3mm spacer the same as the previous one (sourced on top of standard kit) to the outside of the cup on the non drive side, before finally fitting the non drive crank. The cup is sandwiched between spacers before the crank goes on.
In summary, you're setting the drive crank / chainset closer to the seat post and the non drive crank at a position that should be pretty much offset from the post equidistant to the other one.
Likely this text looks like French to people but it makes sense to me and may assist some

!
The additional 2.5mm spacer - next day free delivery - spot on:
www.ebay.co.uk/itm/shimano-hollowtech-bottom-bracket-spacers-XT-LX-XTR-HOPE-RACE-FACE/130798978004?_trksid=p2045573.m2042&_trkparms=aid%3D111000%26algo%3DREC.CURRENT%26ao%3D1%26asc%3D27%26meid%3D8623326480206198781%26pid%3D100033%26prg%3D1011%26rk%3D2%26sd%3D370838277917%26The matching additional 3mm spacer (not free delivery - still waiting - get it elsewhere if you can get it quicker):
www.petracycles.co.uk/shimano-spares-fc-5603-spacer-3mm-p-5478.html


 !
!